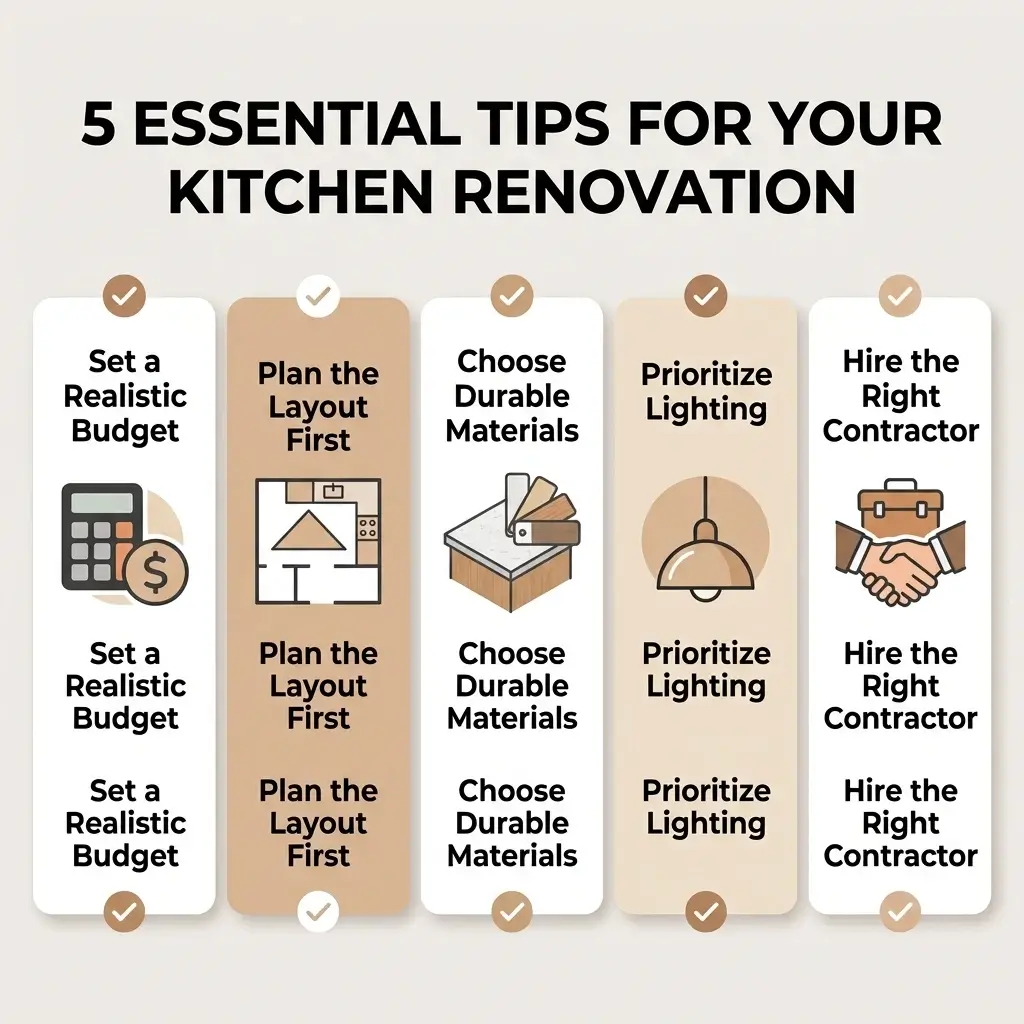
A stunning kitchen comes from five decisions you make before anyone picks up a tool: your focal point, your layout clearances, where your money goes, your lighting specs, and your work order. Most guides tell you to plan carefully and layer your lighting. Few give you a single number you can measure. These 5 essential tips for a stunning kitchen renovation give you the actual figures, so you can hand a real plan to a designer or builder and get the room you pictured.
A stunning kitchen renovation starts with one focal point, a layout built on real clearances, and lighting you actually specify. These 5 essential tips for a stunning kitchen renovation cover focal point, layout and ventilation, impact per dollar spending, layered lighting specs, and correct work sequence.
The 5 Essential Tips for a Stunning Kitchen Renovation at a Glance
- Choose your focal point first. One element carries the room. Everything else supports it.
- Lock the layout and clearances. Aisle widths and landing zones decide how the kitchen feels every day.
- Spend where it shows. Five changes deliver most of the visual lift.
- Light it in three layers. Specify color temperature, CRI, and mounting height.
- Sequence the work. Correct order protects your budget and your timeline.
Tip 1: Choose Your Focal Point Before You Choose Anything Else
Beautiful kitchens share one quality. They give your eye somewhere to land. A room where the backsplash, the island, the hood, and the cabinets all compete feels busy. Pick the single element that carries the room, then let the rest support it.
How to Pick the One Element That Carries the Room
Stand in the doorway. Whatever you see first is your natural focal point. Usually that means the range wall, the island, or a window run.
Give that element the boldest material and the strongest contrast. A veined quartzite slab behind the range works. So does a deep green island against pale perimeter cabinets, or a plaster hood shaped like sculpture. Then hold everything else quiet.
The Restraint Rule: Why Three Finishes Beat Six
Count your finishes. Cabinet color, countertop, backsplash, flooring, hardware metal, and light fixture metal all count.
Three main finishes plus one accent reads as designed. Six reads as a showroom. Repeat each finish at least twice around the room so the eye connects them. Two tone cabinets work well here, because the lower color grounds the space while the uppers keep it open.
Tip 2: Lock the Layout and Clearances Before the Aesthetics
Layout decides how the kitchen feels on a Tuesday night. Get it right on paper, because moving a wall later costs far more than moving a line on a drawing.
Work Triangle or Work Zones: Which One Fits Your Kitchen
The classic work triangle connects sink, refrigerator, and cooktop. The National Kitchen & Bath Association recommends each leg run 4 to 9 feet, with the three legs totaling no more than 26 feet. Traffic should stay outside that triangle.
Work zones suit larger kitchens and households where two people cook. Instead of one triangle, you build separate prep, cooking, cleanup, and storage areas. Galley and small L shaped kitchens do better with the triangle. Big open concept rooms with an island usually do better with zones.
The Clearance Numbers to Design Around
These come from the NKBA Kitchen & Bath Planning Guidelines, the standard designers work to:
- Work aisle: at least 42 inches for one cook, at least 48 inches for two
- Walkway: at least 36 inches
- Refrigerator landing: at least 15 inches of counter on the handle side
- Cooktop landing: at least 12 inches on one side and 15 inches on the other
- Sink landing: at least 24 inches on one side and 18 inches on the other
- Prep counter: a continuous run at least 36 inches wide and 24 inches deep beside the sink
- Seating knee depth: 18 inches at a 30 inch counter, 15 inches at 36 inches, 12 inches at 42 inches
Measure your plan against this list before you approve it. Every number here is a comfort you feel daily.
Size the Ventilation While the Layout Is Still on Paper
Ventilation gets skipped in almost every kitchen guide, and it changes how the whole house smells. The Home Ventilating Institute gives you simple math:
- Wall mounted hood: 100 CFM per linear foot of cooktop width. A 30 inch cooktop needs about 250 CFM.
- Island hood: 150 CFM per linear foot, because there is no wall to help contain the air.
- Gas range: divide total burner BTU by 100. A 40,000 BTU range needs about 400 CFM.
Make the hood at least as wide as the cooktop. Duct it outside, too. The Home Ventilating Institute is direct on this point: recirculating hoods filter grease and odor but move no air out of the home, so ducted units do the real work.
Tip 3: Spend Where It Shows: The Impact per Dollar Order
Your budget has a visual ceiling. Five changes carry most of the transformation, and they cost a fraction of a full gut renovation.
The Five Changes That Carry Most of the Visual Lift
New cabinet door fronts. Fresh hardware. A new countertop. Updated lighting. A new backsplash.
Together these rebuild the entire surface you see. Meanwhile the cabinet boxes, the plumbing, and the wall positions stay put, which is where gut renovations spend their money. If your boxes are solid and your layout works, this route delivers a genuinely stunning result.
Where to Save Without Losing Quality
| Spend here | Save here |
| Countertop on the main run | Countertop inside a butler’s pantry |
| Cabinet door fronts and hardware | Cabinet boxes, if sound |
| The focal point material | Filler wall backsplash |
| Task and island lighting | Decorative accent fixtures |
| Flooring, which is hard to redo | Paint color, easy to change later |
Put your money on surfaces you touch and see head on. Pull back on surfaces hidden behind doors or above eye level.
Tip 4: Light It in Three Layers, With Actual Specs
Every guide says layer your lighting. Almost none tell you what to buy. Here is the specification.
What Each Layer Does
Ambient fills the room. Recessed fixtures or a central fixture handle this.
Task lights your hands. Under cabinet strips cover the counter, and pendants cover the island.
Accent adds depth. Interior cabinet lighting, toe kick lighting, and picture lights sit here.
Run all three on dimmers. That single choice lets one kitchen serve breakfast prep and a dinner party.
Color Temperature, CRI, and Mounting Heights
Choose 2700K to 3000K for warm, inviting light. Pick 3000K to 3500K if you want a crisper feel at the counter. Keep every bulb in the room within the same range so the light reads as one temperature.
Look for CRI 90 or higher. High CRI shows the true color of your food and your finishes, which matters more in a kitchen than anywhere else in the house.
Hang pendants so the bottom of the shade sits roughly 30 to 36 inches above the island. Mount under cabinet strips toward the front edge of the cabinet, not the back. Front mounting throws light onto the counter instead of up the backsplash.
Tip 5: Sequence the Work and Budget for Reality
Order of operations protects your timeline. Doing things in sequence keeps trades from redoing each other’s work.
The Correct Order of a Kitchen Renovation
- Define scope and budget
- Finalize design and layout
- Select and order materials, longest lead items first
- Secure permits
- Demolition
- Rough in plumbing, electrical, and mechanical
- Inspection
- Drywall and priming
- Cabinets and flooring
- Countertop template and installation
- Backsplash, fixtures, and appliances
- Paint touch up, punch list, final walk through
Notice that ordering comes before demolition. Cabinets carry the longest lead time on most projects, so lock that order in early and let the rest of the schedule follow it.
Floors First or Cabinets First?
The honest answer depends on your flooring.
Tile, hardwood, and any glued or nailed floor go in first. Cabinets then sit on top, which gives a seamless look and lets you swap cabinets later without patching the floor.
Floating floors reverse the rule. Click lock luxury vinyl plank and laminate need room to expand, and heavy cabinets pin them in place. Install those cabinets first, then float the floor around them.
Contingency, Change Orders, and Ordering Early
Set aside 15% to 20% of your budget as contingency. Older homes reveal surprises once walls open, and that reserve keeps decisions calm.
Change orders drive most budget growth. Every choice you finalize before demolition is money you keep. Lock your appliance models early too, since cabinet dimensions depend on them.
What a Kitchen Renovation Costs in 2026
Cost by Project Scope
The 2026 U.S. Houzz Kitchen Trends Study, based on a survey of 1,780 homeowners, reports a median spend of $20,000 for a minor kitchen renovation and $55,000 for a major one where all cabinets and appliances get replaced. Kitchen size moves the number: majors in kitchens over 250 square feet reach a median of $75,000, while smaller kitchens land near $46,000.
The same study found that 76% of homeowners add built in features, with pantry cabinets leading at 47%.
What the Resale Value Data Shows
Zonda’s 2025 Cost vs. Value Report puts the national average job cost for a midrange minor kitchen remodel at $28,458, returning an estimated $32,141 in resale value. That works out to 112.9% of cost recouped, the strongest interior project in the report.
Large upscale kitchen projects recoup a much smaller share. If resale drives your decision, the focused refresh in Tip 3 is the stronger financial play. If you plan to stay, spend on what you will enjoy daily.
Adapting These Five Tips to Your Kitchen
Small and Galley Kitchens
Hold the 42 inch work aisle even when space feels tight, and gain the inches from cabinet depth instead. Go vertical with tall cabinets to the ceiling. Choose one focal wall, keep the palette light, and let open shelving carry visual air.
Designing for Accessibility and Aging in Place
Plan a 60 inch turning circle for a mobility aid. Add knee space under one section of counter and one sink. Pull out shelves and full extension drawers bring the back of a cabinet to you. Lever handles, rocker switches, and generous task lighting serve every age in the household.
Your Pre Renovation Checklist
Work through this before demolition day:
- Focal point chosen and everything else set to support it
- Finish count at three plus one accent
- Layout measured against NKBA clearances
- Hood CFM calculated and duct route confirmed
- Budget split by line item, with 15% to 20% held in reserve
- Every fixture, appliance, and finish selected and ordered
- Permits filed
- Lighting plan showing layer, temperature, CRI, and height
- Flooring sequence confirmed with your installer
- Temporary kitchen set up
Kitchen Renovation FAQs
How long does a kitchen renovation take?
Plan on 3 to 4 months from finalized design to completion. On site construction often runs about 4 weeks of that. The rest goes to design, material lead times, permits, and inspections, which is why early ordering shortens the whole calendar.
What is the most expensive part of a kitchen renovation?
Cabinetry, followed by labor and appliances. Cabinets commonly account for the largest single share of the budget. That is exactly why replacing door fronts on sound boxes delivers such a strong return compared with a full cabinet replacement.
When remodeling a kitchen, what comes first?
Planning comes first, not demolition. Define your scope, budget, and layout. Finalize the design, then order materials and secure permits. Once selections are locked and the long lead items are on their way, demolition can begin.
Do I need permits for a kitchen renovation?
Cosmetic updates like paint, hardware, or a countertop swap usually proceed without permits. Structural changes, new electrical circuits, and plumbing relocations typically require them. Confirm with your local building authority, since requirements vary by jurisdiction.
How much should I set aside for a contingency?
Reserve 15% to 20% of your total budget. Ten percent covers newer homes with simple scopes. Older properties often reveal outdated wiring or hidden moisture once walls open, and the larger reserve keeps those discoveries manageable.
Should I hire a professional or DIY my kitchen renovation?
Match the choice to the scope. Painting, hardware, and backsplash tile suit a confident DIY approach. Projects involving structural changes, gas lines, plumbing moves, or new circuits belong with licensed professionals, both for code compliance and for the inspection sign off.
Bringing It Together
Start where you started: one focal point, chosen on purpose. Build the layout around real clearances. Direct your budget toward the surfaces you see. Specify the lighting instead of hoping for it. Then follow the sequence that keeps trades in step.
Follow these 5 essential tips for a stunning kitchen renovation and you walk into a room that looks designed and works beautifully, every single day.